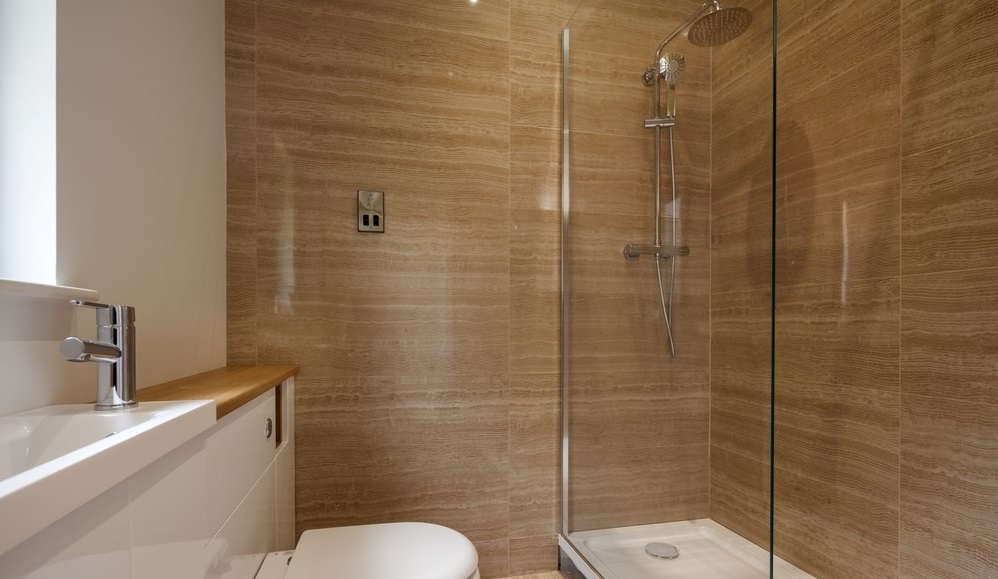
Updating your bathroom – whether it be new shower doors, faucets or new tiling – can play a significant role in making your home age in place compliant. Installing tile on your shower ceiling may be a personal decision, but it is necessary in some cases. Building codes often require up to 6-inches of waterproof materials installed above the showerhead. That means if your showerhead is too close to the ceiling, you need to tile the shower ceiling to pass inspection.
Also, like installing slip-resistant flooring to prevent slips and falls in the bathroom, tiling a shower ceiling can make the bathroom less dangerous for older adults who wish to age in place (tiling a shower ceiling helps with moisture-related issues, like the build-up of mold and mildew – you don’t want an older person to have to get up on a ladder, stool or the like, to clean).
Pro Tip: Home safety should always come first. For this reason, you may also want to consider installing a grab bar or a shower bench during your bathroom renovation as well.
How to Tile a Shower Ceiling for Your Aging in Place Home
First things first: plan out your DIY project before you begin installing your tile. Ask yourself, what tile layout would you or your elderly loved one prefer? Do you want to line up all the grout lines or install the tiles diagonally on the ceiling and shower wall? Would you prefer a brickwork course or a straight course?
Next, check to ensure the substrate surface will not be damaged by water. You also want to ensure the substrate is properly screwed into the joists, for example.
Once you have decided on the tile layout for your bathroom renovation, you can start buying materials or equipment. This will save you the hassles of making unnecessary trips to the hardware store. Oftentimes, a diagonal installation will require more materials than a linear installation. Here are the materials you’ll need for your project.
Tools and Materials
- Ceiling tiles
- Thin-set mortar (regular or non-sag)
- Grout
- Trowel
- Mixing bucket
- Small plastic spacers
- Measuring tape
- Painter’s tape
- Mixing paddle
- Ladder
- T-braces
- Ruler
- Chalk or pencil
- Safety goggles
- Gloves
- Cardboard or heavy drop cloth
- Silicone caulk
- Caulk gun
- Tile cutter
- Sponge
Step 1: Cover the Shower Floor and Bathtub
Lay several pieces of cardboard on the floor to cover the entire shower floor. This will prevent damage to the floor if any tile should drop on it. Remember to cover the bathtub, too. You can cover the bathroom floor and bathtub with a heavy drop cloth if cardboard is not readily available.
Step 2: Build T-Braces
Next, measure the width of the ceiling and the length from the floor to the ceiling. Use the measurement to make T-braces by nailing two pieces of scrap lumber together. Make sure the length of the T-braces is one inch shorter than the length measurement of the ceiling, and the top of the T-braces is nearly as wide as the width of the ceiling.
Step 3: Measure and Mark the Center Point of Your Ceiling
Find the center point of the ceiling by measuring the width and length. Mark the center point with chalk or pencil and use the ruler to mark perpendicular lines through the center point to ensure all the tiles will be properly aligned when installed.
Step 4: Mix the Thin-Set Mortar
Pour some water into a bucket and add the thin-set mortar. Thoroughly stir the mixture using a mixing paddle or broomstick. Allow the mixture to thicken for a few minutes and stir again. Make sure to read and follow the manufacturer’s instructions for mixing the thin-set mortar. Using a quality thinset ceramic tile adhesive is key here.
Step 5: Burn the Thin-Set onto the Back of the Tile
Use a notched trowel to spread a thin layer of thin-set on the back of a shower tile. Create ridges in the mortar by sliding the notched end of the trowel across the back of the tile. This will create suction and keep the tile in place when installing it.
Step 6: Install the Tiles
Place the first shower tile on the perpendicular line you made earlier, pressing the tile firmly into the ceiling. Move the tile back and forth a bit using a twisting motion. This will help the mortar to adhere to the ceiling.
Next, tape two sides of the tiles with painter’s tape and repeat the same process to add more tiles. Remember to add small plastic spacers between the tiles to prevent uneven tile rows. Use a tile cutter to trim the tile when you get to the edge of the ceiling.
Step 7: Secure the Tiles in Place Using the T-Braces
Once the first row of tiles is completed, slide the T-brace under it to hold it in place. Remove the painter’s tape. Repeat the process until you tile the entire ceiling, making sure each row of tile is securely supported by T-braces.
Step 8: Let the Thin-Set Cure and Set
Leave the shower tile to set for a minimum of 24 hours before removing the T-braces and plastic spacers.
Step 9: Prepare the Grout
Add tile grout and water into a bucket and stir using a mixing paddle to form a thick paste. Use a trowel to spread the grout mixture into the lines between the tiles. Apply only little amounts of grout per application to prevent the mixture from falling onto the floor or dripping on you.
Step 10: Clean the Tiles
Wet a sponge with water and wipe the tiles, paying particular attention to where you applied the grout. Wait for about 45 minutes or an hour for the grout to dry, and then wipe the tiles again to remove any remaining residue.
Step 11: Seal the Edges of the Tile with Silicone Caulk
Snip the tip of your silicone caulk applicator and place it in a caulk gun. Hold the gun preferably at a 45-degree angle and slide it across the tile lines while pressing and applying the caulk evenly to each section.
Final Note
Depending on the shower size, it can take anywhere between two to three days to complete your installation project. So, don’t get frustrated if it doesn’t get done in a day or two. And, there are plenty of resource videos available on youtube.com if you run into problems with your DIY project.
Good luck with your aging-in-place home renovation project!