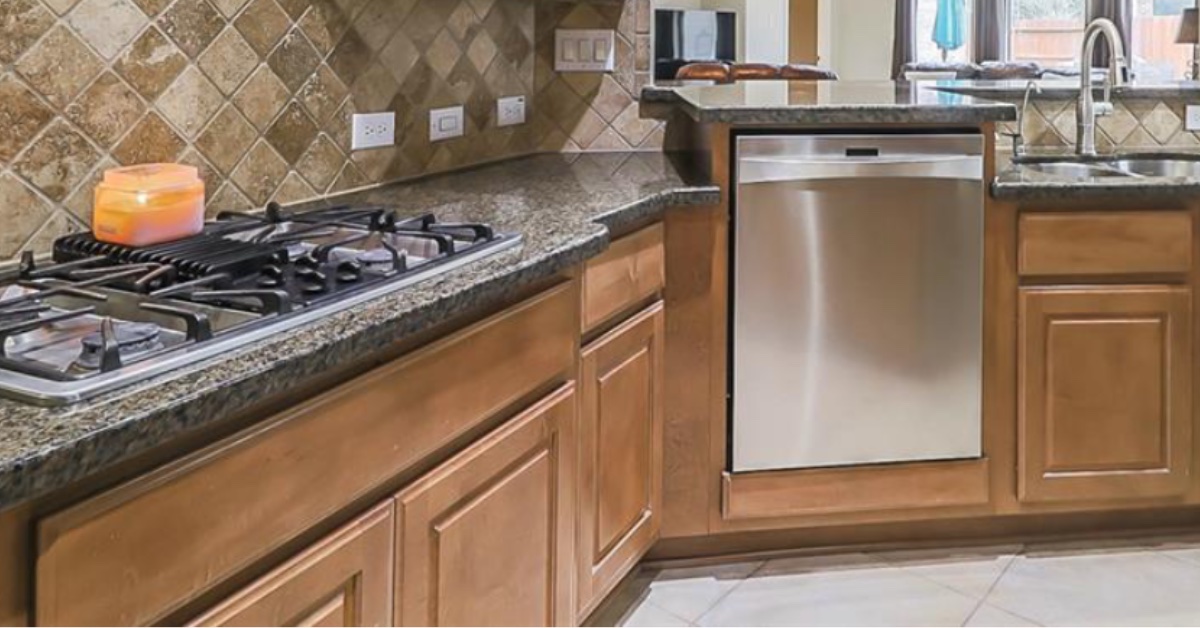
There are so many considerations to make when we’re looking at a kitchen renovation for an aging-in-place home. Most of the homeowners I work with have the obvious jobs planned for, like adding a slip-resistant floor or installing lights underneath cabinets.
These updates help with mobility and eye-sight issues as adults age – two critical components of the aging-in-place home. When you’re designing a home for your parent to age in, however, it’s just as important to account for balance issues. A safe aging-in-place kitchen should eliminate the need for an adult to bend down as much as possible. That’s because as we age, our balance just isn’t what it used to be, and losing balance can be a major cause of injury.
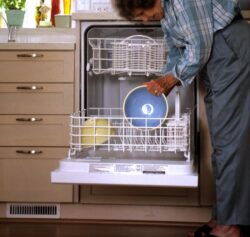
If your parent has a dishwasher, they can easily lose their balance each time they load and unload dishes from the bottom rack. By simply raising the dishwasher, you can eliminate one of the biggest dangers in the aging-in-place home.
There’s No Reason the Dishwasher Needs to Sit on the Floor!
Why it was decided to place the dishwasher flat on the floor and require all of us to awkwardly bend over to load and unload every dish is a question that may forever go unanswered. What I can tell you, though, is that there’s a pretty straightforward fix – raise the dishwasher.
No one likes bending over to load the dishwasher. But for an older adult, it presents a serious safety hazard. Not only is your parent bending over, but they’re doing so with heavy dishes in their hands which can throw off their equilibrium. The risk is multiplied by the fact that they probably use the dishwasher every day, if not multiple times a day. For all of these reasons, raising the dishwasher off of the floor should be a priority in your aging-in-place kitchen upgrade.
Raise the Dishwasher so the Bottom Rack Sits At Least 15-inches Off the Floor
The American’s with Disabilities Act, or ADA, created guidelines back in the ‘90s that have influenced the way we design commercial and residential spaces for people with disabilities and mobility challenges. These same guidelines are what we use to create or renovate a home for older adults who want to safely age in place for as long as possible.
According to the ADA, any drawer pull, appliance handle, or anything else your parent has to reach for cannot sit less than 15-inches from the ground. Once they start reaching below 15-inches, there’s a greater likelihood that they could get hurt.
This means that the bottom rack of the dishwasher should be at least 15-inches off the ground to make the process of loading and unloading dishes safe. Today’s standard dishwashers sit on the floor of the kitchen with a bottom rack that’s not more than 4-5-inches off of the ground – far below ADA recommendations.
Raising a Dishwasher is Not a Job for the DIY Novice. Don’t Be Afraid to Call in a Pro.
Elevating a dishwasher for aging-in-place is no small feat. If you’re a DIY novice or don’t have carpentry experience, you may want to invest in a professional who will do the job correctly. If you’re set on tackling this one on your own, I still recommend consulting with a professional to make sure you’re on the right track.
Before you get started, make sure you have these tools and materials ready to go.
Tools & Materials:
- C-clamps
- Jigsaw
- Standard circular saw or wet circular saw
- Diamond cut saw blade
- Electric drill
- Wood screws
- Sawhorses
- Shop-vac
- Painter’s tape
- Tape measure
- Permanent marker
- Dust mask
- Safety glasses
- Silicone adhesive
- Caulk
- Wood glue
- Plywood – cut to size
- Lumber – cut to size
Now, to Raise the Dishwasher
Step 1. Turn Off the Water and Electric, and Disconnect the Dishwasher
Your first step is to shut off the water and electric running to the dishwasher. These lines are almost always located under the kitchen sink. The water hose will have a valve that you can turn to shut things off and you should be able to unplug the dishwasher from an outlet. Once no water or power is running to the dishwasher, disconnect the hoses.
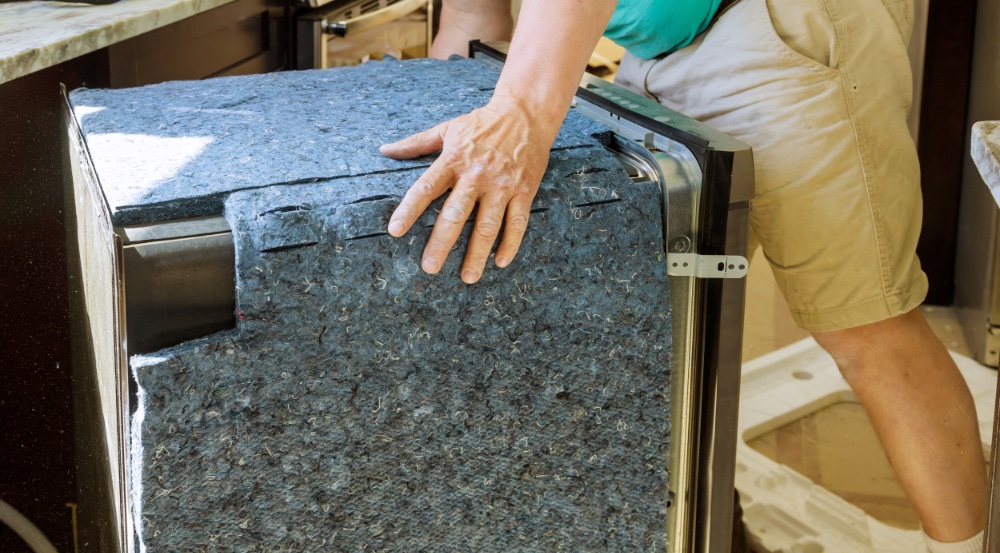
Step 2: Remove Your Current Dishwasher from the Cabinet
Start to gently pull the dishwasher forward to guide it away from the cabinet. Be careful to not scratch your floor.
Step 3. Cut your Countertop
This is the first part of the project where you need to honestly assess your home improvement skills. You only get one chance to cut through your countertop. The risk of splintering the sides is high if you’re not careful and cut too fast. If you’re uncomfortable with this step, I definitely recommend you bring in a contractor with the professional tools and experience to make the cut for you.

If you decide to move ahead and cut your countertop to size, remove the entire section of countertop that you’ll be cutting and place it on a pair of sturdy sawhorses, securing it with c-clamps.
Two of the most common countertop materials are laminate and granite. These materials cut differently so let’s take a look at how to approach cutting both types of countertops.
Laminate
A laminate countertop has a plastic outer layer and a particleboard or wood base inner layer. When you cut through a laminate countertop, there’s always the chance of splintering if the blade slips a bit as it passes from the plastic to the wood layer, so go slow.

To start, lay down a layer of painter’s tape over the area that you’ll be cutting. On the tape, take your permanent marker and mark your cutting line. This is a measure twice (or three times) and cut once type of project. Again, you don’t get a second chance to cut your existing countertop.
A jigsaw is the best tool for cutting through laminate. Once your cut line is set, take your jigsaw and carefully cut along the line you drew on the painter’s tape.
Granite

Granite is a different animal altogether and takes a slightly different cutting method than laminate. You start with the same process of removing the countertop and marking your cut line on a section of painter’s tape. To cut through granite and avoid splintering it, use a circular saw. Granite gets dusty, so a wet circular saw is going to help reduce some of the dust when you go to make your cut. If you decide to use a dry circular saw, you’ll still have a clean cut, just don’t forget your dust mask!
Step 4. Determine the Dimensions of Your Base Structure
Elevating your dishwasher means it has to sit on some type of base structure. You’ll have to do a little math to determine the right dimensions. First, you need to figure out how many inches the bottom dishwasher rack currently sits above the floor.
Pro Tip: If you’re elevating your dishwasher during a larger kitchen renovation and your new flooring isn’t yet installed, you’ll need to account for the height of the new floor when you measure.
Most standard dishwashers sit about 4-5-inches off the floor. To meet ADA standards, you need to raise that lower rack to at least 15 inches above floor level. As an example, if the lower rack currently sits 5-inches off the ground, you need to raise your dishwasher another 10 inches.

Next, you’ll measure the width of the dishwasher. A standard dishwasher is 24 inches wide, but always measure to double-check your dimensions. Then measure the depth of the cabinet space the dishwasher fits into. Most cabinets are 24 inches deep.
At these measurements, you need to build a 24x24x10 support base to properly elevate your dishwasher.
Step 5: Build Your Base Structure
Now you’re ready to build your base structure. First, use lumber to build the frame’s perimeter to the proper dimensions. Next, reinforce the frame with cross members. Cross members are additional boards that lay within the frame from end-to-end to provide structural support. Space the cross members evenly from one end of the frame to the other.
Once your frame is complete, nail your plywood to the top securing it to the frame and each cross member board. Your frame plus the height of the plywood gives you the total height of the base.
Pro Tip: When building your base, pay attention to where the dishwasher’s hoses enter the cabinet and where they need to go to connect to the dishwasher. You’ll need to tailor your design to accommodate the hoses and any other plumbing and electrical hookups that will come up through the base.

Next, slide the base into the dishwasher’s cabinet. Use a wood file to trim down the wood frame if you have trouble fitting it into place. You want a tight fit so file off as little of each board as necessary to get the frame inside the cabinet area.
Finally, cover the face of the base with a toe kick plate. Depending on the set up of your existing cabinets, you may be able to repurpose the old toe kick. If not, simply cut a section of trim to match the existing cabinets.
Step 6. Elevate the Countertop
Like you did with the dishwasher base, you need to build a frame to fit around the now-exposed top of the dishwasher. The section of countertop you removed will sit on the top of the frame.
Building the elevated frame is a pretty simple job in theory. But if your countertop is granite or another heavy material, I highly recommend you consult the expertise of a professional contractor. They can help you account for any structural requirements the frame may need to support the countertop.

To build the frame, select plywood that’s an equal thickness to that of the existing cabinet. Since you raised the dishwasher up by 10 inches, you need a frame that raises the countertop 10 inches as well. Once you have your full frame built, run wood glue along the bottom of the two sides and back panels and put the new cabinet frame in place. Then use a screwdriver to connect the plywood frame to sections of the adjacent cabinet frame to secure it in place.
Step 7. Add Decorative Side Panels
After your frame is installed, add a decorative panel over the exposed plywood where the lower countertop meets the side of the dishwasher. One of the hardest things in this step is matching the decorative side panels to the color of your existing cabinets. If your cabinets were custom-built, you may be able to contact the builder and have them create matching panels. If your cabinets are stock, try to match the color and texture of the panels as best you can. A professional contractor can help you with this step and make sure your cabinetry looks as good as it did before your renovation.
Step 8. Set the Dishwasher Back into Place
Set your dishwasher as close to the opening as you can and thread the hoses and electrical cords through the new base, connecting them to the dishwasher. Your water hose and electrical cord should not be re-connected to their power sources at this point. Next, get an extra set of hands and, together, lift the dishwasher up and into place. There should not be a large gap between the top of the dishwasher and the top frame.
Step 9. Install the Countertop

Your final step is to secure the countertop back into place. For most countertop materials, this includes an adhesive to secure the frame to the counter and caulk to seal the seams. With granite, for instance, use a silicone adhesive. Run the silicone down the tops of each section of the frame then lay the countertop in place. Next, run a line of caulk along each side where the counter meets a cabinet or wall. This helps seal the countertop fending off any potential water damage.
Then, just reconnect the electrical and water hoses and your parent can start safely enjoying their newly elevated dishwasher.
Interested in adding a new countertop? Check out these 14 Issues to Be Aware of When Choosing Counters for Aging in Place
You’re Now Ready to Make a Big Improvement to the Safety of Your Aging-in-Place Kitchen
Elevating your parent’s dishwasher is going to make a big difference in their comfort and safety as they age in place. With the right tools, steps and guidance, you can tackle this project in about a weekend.
As you can probably now tell, elevating your dishwasher is not a job for the DIY novice. It’s always a good idea to bring in a professional when you’re working with any type of complex project like this one. If you decide you need further guidance than the steps laid out here, use the comments section below and send me your questions. I’m here and ready to help you successfully elevate your dishwasher and create a safe home where your parent can age in place for years to come.
Good luck with your next aging-in-place home project!