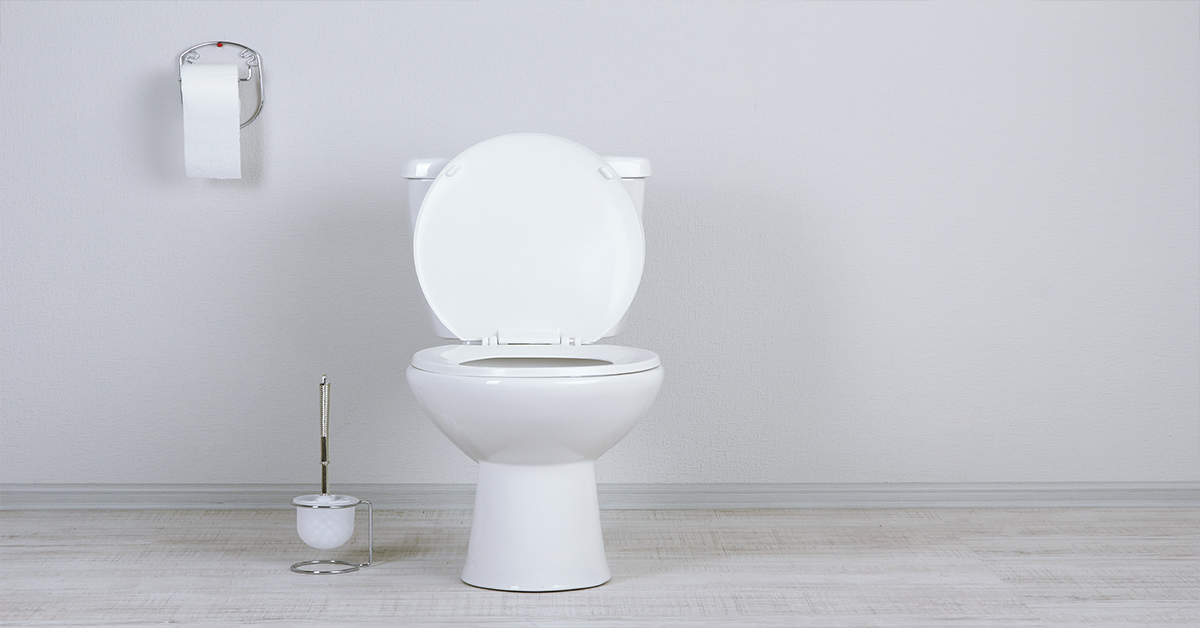
When I talk to homeowners about painting a bathroom for aging in place, just about every one of them desperately wants to know how to make painting behind the toilet easier. Here’s what I tell them:
“If you’re attempting to paint behind your toilet without the right tools and know-how, you might as well be painting blind.”

Painting around toilets and other bathroom fixtures can be tricky, but it doesn’t have to be. To help you successfully paint behind your bathroom toilet, I’ve put together my best how-to tips for tackling this job quickly and easily. And, I’ve thrown in some other tips for painting in and around other tight spaces in your bathroom, too. Even if you’re an aging-in-place DIY novice, you’ll be able to pick up a brush and roller after reading through these tips and paint your bathroom like a pro.
For help and extra tips on interior painting, check out these painting guide books!
First, It’s Important to Understand Why Painting Around a Toilet Matters in the Aging-In-Place Home
You’re going to want to pay particular attention to painting behind the toilet when you’re doing an aging-in-place bathroom update. Why? The bathroom is one of the most common places in the home for an older adult to suffer an injury. For that reason, it’s also the most likely room for fixtures to be replaced or relocated to increase safety and convenience. It’s not uncommon for aging-in-place toilets to be replaced for safer or easier-to-use options. That means that the part of your wall that’s hidden behind your toilet today may not be hidden down the road.
Pro Tip: Buy more paint than you think you’ll need for your bathroom. Label the top of the can and store it away. If you do move or replace the toilet – or any fixture – later on and need more paint to cover a newly exposed section of wall, you’ll be ready.
Choose the Best Paint for an Aging-in-Place Bathroom
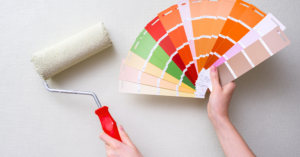
have a ton of paint options when selecting your paint color. When you’re making an aging-in-place painting update, make sure you’re choosing a high-contrast color. As we age, our eyes weaken and it gets harder to see. A color that contrasts against the floor and fixtures in the room is going to make a big difference for the safety of the person living in the home. You can check out my article on ‘Tips for Applying High-Contrast Paint to Walls to Make Your Home Aging in Place-Friendly’ to learn more.
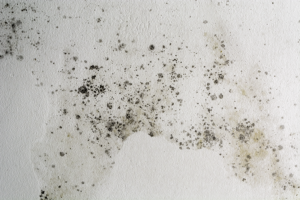
Another important paint consideration for bathrooms is whether the paint is mildew-resistant. Even if the bathroom you’re painting isn’t for an aging-in-place home, this feature is still a must for rooms prone to excessive moisture. Especially if you live in southern Florida like I do, or anywhere with excessive humidity, this is critical. The health impact of mold or mildew build-up can be serious for older adults already dealing with health issues. Do everything you can to eliminate the risk. Most paint stores carry mildew-resistant options so make sure you ask.
Let’s Get Started. Here’s How to Paint Behind the Toilet
The prep work you do before paint touches the wall behind the toilet is the key here. Your first step is purchasing high-quality supplies so the paint goes on easily and you get professional-quality results.
You Have Multiple Painting Tool Choices. Here are a Few Great Options:
Other Tools & Materials You May Need:
Tip 1: Cover the Toilet with a Large Trash Bag
A large trash bag is the best way I’ve found to easily cover a toilet and keep paint off. Try a large capacity black construction trash bag if your typical 13-gallon kitchen trash bag doesn’t cut it. Make sure the entire back of the toilet is covered and safe from any paint that may splatter as you work. Removing the top lid of the toilet should give you some extra wiggle room if you’re struggling to get the trash bag secured.
Tip 2: Use a Brush or Roller Designed for Tight Spaces
Don’t try to squeeze a standard paintbrush behind the toilet and hope you can cover the walls neatly. You can’t. Standard brushes aren’t made to fit into tight spaces and still deliver professional results. When painting behind the toilet, you have a few tools to choose from.
Option 1: Mini Roller

Mini rollers are a pro painter’s secret weapon. I always have one on hand for every paint job I do and they’re a great option for this particular project. Especially if you’re painting small rooms or tight spaces throughout your house, they’re the way to go. There’s no standard distance that a toilet should sit out from a wall. So, before you get started, check to make sure your mini roller is small enough that you can easily paint behind the entire toilet. When in doubt, choose a narrow roller so the paint stays where you want it.
Option 2: Paint Pads

Paint pads are another great option for reaching behind the toilet. Each paint pad consists of a small square or rectangular pad placed on a long handle that lets you reach into the tight spaces behind your toilet pretty easily. The only drawback with standard paint pads is the 90-degree angles of the pad can make painting around circular pipes more difficult. But, if you have a steady hand this may do the trick.
Option 3: Paint-Behind Brush

Paint-Behind is a brand of brushes designed to – you guessed it – paint behind fixtures that sit close to a wall. This little invention is a simple and effective way to paint behind your toilet. It’s not a very versatile tool but it does its job well and is a good option. What I like about Paint-Behind brushes over the paint pads is their circular edge. They make it easier to create clean paint lines as you maneuver around the plumbing behind the toilet.
Tip 3: Do Two Coats
Just because you won’t see the paint hiding behind the toilet each day doesn’t mean you can get away with one thin coat of paint. Give the same consideration to the wall behind the toilet because remember, there’s a good chance that section of wall will be visible when it’s time to replace your parent’s toilet as they age.
Tips for Painting Hard-to-Access Bathroom Trim
Painting behind the toilet isn’t usually the only challenge when you’re trying to paint a small bathroom. Powder rooms, in particular, are known for toilets placed in small, deep sections of the room making the trim around the toilet just as much of a challenge to paint.
Below are three tips for painting hard-to-access bathroom trim.
Tools and Materials You’ll Need
Tip 1: Tape the Wall Above the Trim as Far Back as You Can Reach
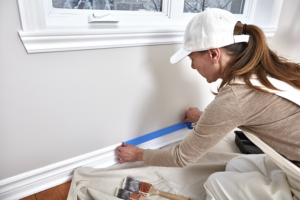
Use a thin painter’s tape and tape the wall above the trim. For sections of trim that are hard to reach, I like to use tape that’s no wider than 1-inch. It’s easier to manipulate as you try to lay the tape as straight as possible.
If the trim goes back farther than you can reach, use a putty knife to help press the tape down along the trim. The handle of the putty knife will give you an extra inch or two and will help you place the tape closer to where you want it.
Tip 2: Transfer the Paint to a Small Hand-Held Paint Bucket

When you’re painting a hard-to-reach section of wall, get your paint as close to the area you’re painting as possible. Moving a wet brush to a hard-to-reach section of trim is already a mess waiting to happen. A small bucket is going to help keep floors and fixtures from getting an unwanted coat of paint along the way.
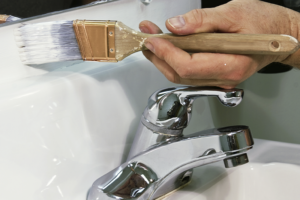
Tip 3: Use a High-Quality Trim Brush with a Long Handle

It’s all about the brush for this project! If you’ve read any of my other painting tips articles, you know how seriously I take the quality of the brushes I choose for each project. A good brush will make a difficult section of wall much easier to paint. For hard-to-reach trim, look for a thin angular sash paintbrush. The brush should be one-to-two inches wide. Thinner is better in this case since it’ll be easier to maneuver a narrower brush in a tight space.
When you’re reaching for trim that’s hard to get to, you’re more likely to end up with waves in your paint lines. It’s also harder to get a smooth paint application. A way to minimize this is with a brush that has a long handle. I love short-handle angled trim brushes for my typical trim work. For hard-to-reach trim though, a short brush just won’t cut it.
When cutting-in on the walls just above the trim in a small bathroom or other tight space, you also want to use a good quality brush with a long handle and your small paint bucket. Then, take a mini roller and use it to paint the section of wall that’s hard to reach as well.
You’re Ready to Go!
With these pro tips, you should be ready to paint a small bathroom with tight spaces like a pro. Once you’re ready to start, use the comments section below to send me any questions you have. Good luck with your next DIY aging-in-place home project.