Reducing the likelihood of a slip or fall is aging-in-place design 101. In the kitchen, this means doing away with appliances that cause an older adult to reach or bend over. And, this becomes even more important when we’re talking about reaching over a hot surface where a slip or fall can result in a serious burn.
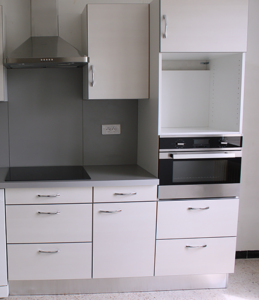
There are two aging-in-place kitchen appliance upgrades that can significantly tame this risk. One is swapping out a burner stove for a smooth-surface electric cooktop. The other is getting the oven off the ground and onto the wall with a wall mount oven.
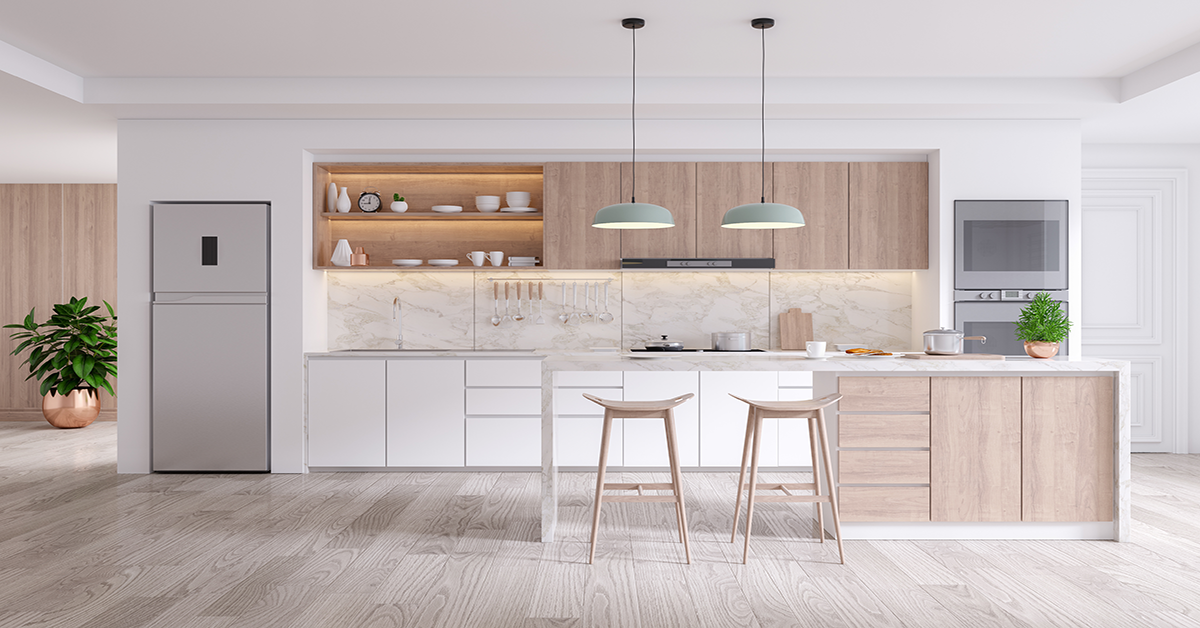
Cooktops and Wall Mount Ovens Can Make an Older Adult Safer and More Comfortable in Their Kitchen
The Americans with Disabilities Act, or ADA, also advocates for aging-in-place appliances that reduce reach. To maintain ADA-compliance, here’s what you need to know as you plan for an aging-in-place appliance upgrade.
ADA Guidelines for a Cooktop and Oven
- The location of the cooktop’s controls shall not require reaching across burners
- The location of the oven’s controls shall have controls on front panels
- Side-hinged door ovens shall have a minimum of 30-inches of countertop work surface adjacent to the latch side of the oven door
- Bottom-hinged door ovens shall have a minimum of 30-inches of countertop work surface positioned adjacent to one side of the door
Converting Your Range and Oven to a Safer Cooktop and Wall Oven is a Complex Project That Requires a Professional
Unless you’re an expert DIYer with a lot of electrical and carpentry experience, this is one project that you need to leave to a professional. With both projects, you’re adding or modifying cabinetry and countertops, and dealing with high voltage electrical work that includes installing junction boxes and rerouting wires.
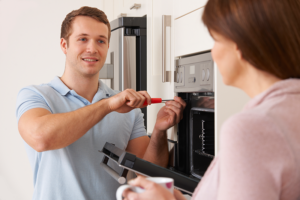
Especially when it comes to major electrical work, always hire a professional contractor. The risk to your safety is not worth the small amount of money you’ll save. With that said, the installation of your new wall oven and cooktop – once the proper cabinetry construction and electric have been taken care of – is the part of this project that can be handled by an experienced DIYer.
In this article, I’m going to walk you through what’s involved with these complex renovation projects, spell out which part of the work you should hire a professional to do, and walk through the jobs you can do yourself. I’ll also point you in the right direction with some of my recommended cooktops and wall-mount ovens to get you started.
Replacing Your Range with a Cooktop
What’s Involved:
Removing the Existing Oven. Most traditional free-standing ovens can be slid out from against the wall fairly easily. This is a simple step and you can carefully handle this on your own. However, the contractor you hire to do the full renovation should take care of the removal of the old appliances.

Pro Tip #1: If you decide to remove the oven yourself, make sure to protect your kitchen floor. I’ve seen too many kitchen floors damaged and destroyed as a result of homeowners dragging their oven out of its place. Lift each corner and place a towel or other non-scratch surface that will let you slide the oven out easily is your best bet. These padded packing blankets work great.
Setting Up the Electric…If Needed. Chances are your home is set-up to accommodate 220-volt circuits. You’ll need a 220-volt circuit that’s split into two 110-volt circuits in order to plug in and run your new electric cooktop. If you’re adding the cooktop in the space where the oven and stove used to stand, you should be able to use that same line, no problem. If you’re relocating your cooking workstation, you’ll need to add a 220-volt outlet and possibly another dedicated breaker switch in the circuit box.
Unless you have serious experience with electrical work, this is not a project for the average DIYer. Do not mess around with 220 volts of power. Leave it to a professional.
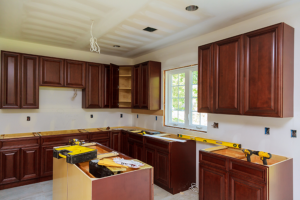
Installing a Base Cabinet & Countertop in the Oven’s Place. Removing the oven creates an open area in your kitchen’s cabinetry that you’ll need to fill with a base cabinet. You’ll also need a new section of countertop that lays on the base cabinet and goes around the perimeter of the new cooktop.
This is where things can start to get tricky. If your kitchen cabinets are custom, then you’ll need to have an additional custom cabinet created to match the existing cabinets.
If you have stock cabinets, however, you’ll need to find a matching stock cabinet and countertop to fit the space. If your existing oven isn’t a standard size, you may have a challenge finding a cabinet that fits. If you have trouble, you’ll want to consult a professional contractor who can help you find the best solution.
Either way, hiring a professional with carpentry experience who can help you create a seamless and functional cabinet base is going to be your best bet.
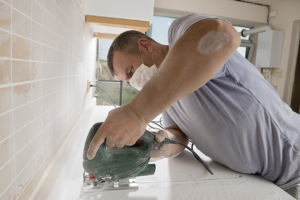
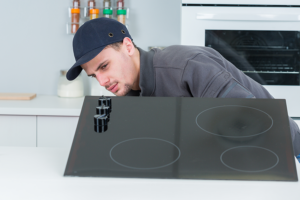
Installing Your New Electric Cooktop. The challenge of this project is all in the prep work. Once your new cabinet base, countertop and electrical are in place, all that’s left to do is install the cooktop. This is a pretty straightforward step that involves cutting a hole in the countertop, placing the cooktop in the countertop’s openings and connecting the electricity.
What Can You Do Yourself?
The Cooktop Installation
While I highly recommend hiring a professional for this complex project, a knowledgeable DIYer should be able to handle the final step and install the cooktop. Like I mentioned above, it’s a very simple process. Here’s what you’ll need to get started.
Tools and Materials You’ll Need:

When you’re ready to install the cooktop, don’t do anything until you’ve flipped off the breaker connected to the stovetop’s junction box. Then, take your multimeter and verify that the power to that junction box is off. When you’re working with 220 volts of electricity, always double and triple-check that your wires aren’t hot.
Pro Tip #2: Have your contractor cut the countertop to size before they install it. This will make life much easier so you’re not cutting countertop after the fact.
Every cooktop is different so follow the manufacturer’s installation instructions as you go. In most cases, you’ll start by laying the cooktop face down on a padded blanket and running a protective foam or rubber seal around the bottom lip of the cooktop. This seal should come with the cooktop unit and act as a barrier between the stove and countertop.
After that, it’s as easy as attaching a few mounting brackets, laying the cooktop in place in the countertop’s opening and connecting the cooktop’s electrical wires to the junction box.
Pro Tip #3: Have a Helper On-Hand. The cooktop will be wide enough that placing it into the counter is much easier with one person lowering each side into place. Don’t risk scratching your new countertop or the cooktop.
What to Look for in a Cooktop:
There are a lot of electric cooktop options out there, but not every cooktop is safe for the aging-in-place kitchen. To meet ADA standards, you’ll need a cooktop with controls at the front so there’s no need to reach across hot burners to turn the cooktop on and off.
Here are a couple of my favorite cooktops for aging in place.
Empava Horizontal Electric Induction Cooktop

I really like the design of this Empava cooktop for aging-in-place kitchens. Each burner is like having three burners in one. This design eliminates back burners and, therefore, the need to reach over hot surfaces. It’s a smart design feature that can reduce the risk of burns in an aging-in-place kitchen.
GASLAND Chef Built-in Electric Induction Cooker

This electric cooktop has three burners upfront which can eliminate the need to reach over the stove – an excellent aging-in-place feature. This cooktop also has a timer that turns off each cooking zone automatically. You can set the timer and just about forget about the cooktop which is a big help as our aging minds can sometimes get a little more forgetful.
Adding a Wall Mount Oven
What’s Involved:
Cutting a Tall Section of Cabinets. Most homeowners don’t have the luxury of extra wall space that they can use to add in a cabinet and wall oven unit. If this describes you, you’ll need to sacrifice an existing cabinet or countertop space to add a wall oven. To do this, you have a few options.
Option 1: You can take a tall section of your existing cabinet, like a pull out pantry, and convert it to hold the wall oven. This is the simplest option because the cabinet’s cavity is already in place. In most cases, you can remove the pantry or cabinet doors and have the clearance you need to add the oven. If the cabinet doors you’re removing are longer or wider than the oven, additional carpentry work may be involved to create the right fit.
Option 2: The more complex option is taking out a section of countertop and a base cabinet and replacing both with a tall cabinet cut to fit the oven.
Trust me when I say that whichever option you’re up against, neither is the right project for the first-time DIYer. Save dollars elsewhere and hire a pro for this portion of the project.
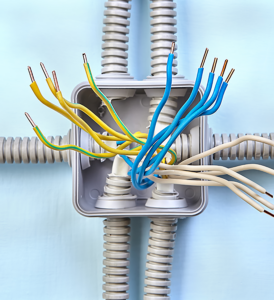
Setting Up the Electric. Next, it’s time to add a junction box behind the wall mount oven. Again, big flashing warning light here! Your wall mount will draw a lot of power so you’ll be adding a junction box that can handle about 240 volts. Just like with the electrical cooktop upgrade, this is the time to bring in a professional. Do not play around with electrical work unless you have extensive experience doing so.
Installing Your Wall Mount Oven. When you’re ready to install the wall mount oven, the hard work is done. If you’re working with a contractor, they should handle this last step for you.
What You Can Do Yourself:
The Oven Installation
If you decide to tackle any portion of this project yourself, the oven installation is your best bet. You can save some money in reduced labor costs with a little know-how and the help of a friend or family member. Wall mount ovens are wide and heavy so make sure you have someone helping you with the install.
Tools and Materials You’ll Need:
Before you get started, your first step is to flip off the breaker connected to the newly installed wall mount oven junction box. And, as always, verify that no current is running to that junction box with your multimeter before you start the installation.

Follow the manufacturer’s instructions to install your particular wall mount oven. The typical installation process will include a few basic steps. You’ll likely need to first screw on any hardware that comes with the unit. Do this with the oven laying down on its side, placing it on a padded blanket so you don’t scratch the oven or the floor.
The biggest step, and the one that requires the most caution, is your electrical hook up. You’ll need to feed the oven’s flexible hose and wires through a conduit connector and into the junction box. If your junction box doesn’t already have a conduit connector attached, you can easily add a ½-inch connector before you feed the wires through. Once the wires are in place, tighten the screw on the conduit connector to secure, connect the wires, and screw the junction box closed.

Next, place the oven into the cabinet and finish up the installation. Lifting and placing the oven into the cabinet takes two people – don’t try to do this one on your own.
Once the oven is in place, you can reassemble the doors and attach its side panels per the instructions. Then, turn the oven on, make sure the controls are working as they should, and you should be good to go.
What to Look for in a Wall Mount Oven:
Just like with a cooktop, not all wall ovens are created equal or safe for the aging-in-place kitchen. Here are a few wall mount ovens that I like and that have worked well for my aging-in-place kitchen renovations.
GE Profile Series 30″ Stainless Steel Built-In Convection Single Wall Oven
There’s not much this ADA-compliant wall oven from GE doesn’t offer, including several features that make it perfect for an aging-in-place kitchen. For starters, it’s made with stainless steel, operates from a touch display and is a standard size making installation much easier than others. One of its best features is the soft-close door. GE uses a special hinge that forces the door to close softly and quietly so a heavy oven door becomes less of a safety and comfort risk for your parent.
It’s also a smart oven that syncs with a smartphone. This lets an elderly adult check on vegetables as they roast or bread baking in the oven with nothing more than their phone. The fewer times your parent has to open the oven door, the fewer chances of an injury.
GE’s Profile Series wall oven is an incredible appliance, but its price is closer to what you’d expect to pay for an ultra-high-end oven. Still, if you can afford to add this GE model to your aging-in-place kitchen, you won’t regret the investment in your parent’s safety and your peace-of-mind.
Empava Electric Single Wall Built-In Self-Cleaning Convection Oven
If you’re looking for a more budget-friendly wall oven and don’t mind sacrificing some bells and whistles, Empava has quality options for an aging-in-place kitchen. This is a self-cleaning convection fan oven with digital touch controls – two important features that will make baking safer for your parent.

With this oven, you can program it to automatically cook at a later time. And, it’ll shut down automatically after a set time to avoid overcooking. These features give your parent some time to do things at their pace and not rush around the kitchen pulling hot, heavy pans in and out of the oven. This oven also has what Empava calls its Precision Temperature Probe. This feature monitors meat to make sure its thoroughly cooked, all without you having to open the oven door. Again, a feature that lets your parent open and close the oven door less often is an aging-in-place design win.
Frigidaire Electric Wall Oven in Stainless Steel
This is another moderately priced ADA-compliant wall oven that’s an excellent option for aging in place. It’s similar to the Empava with features like easy-to-use digital controls, delayed-start baking options, and a powerful self-cleaning mode.

I like this Frigidaire oven for its simplicity. If your parent or loved one prefers a simple, straightforward oven that doesn’t overwhelm them with too many options, this is a great choice. The controls are also easy to push and use which is a big consideration for sore, arthritic hands. It’s also slightly smaller than my other two recommended ovens which may help if you’re renovating a smaller kitchen and need to save space.
The Bottom Line: Hire a Professional Contractor to Tackle this Complex Project
Being a DIYer doesn’t mean you can’t call in a professional aging-in-place contractor from time to time. When it comes to electrical work and major cabinet and countertop reconstruction, make the investment and hire a professional.
As you continue your DIY aging-in-place journey, use the comments section below to send me your questions. Good luck with your next aging-in-place home project.