Aging-in-place home lighting can be tricky. On one hand, your home needs to be well lit so you, your parent, or loved one can safely see where they’re going. However, as we age our eyes become more sensitive to light and even moderately bright lights can cause discomfort or headaches.
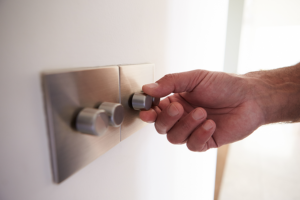
An easy-to-use dimmer switch is usually the perfect solution. Something as simple as a dimmer that lets you choose the right amount of light at any given time can make a big impact on the ability to stay both safe and comfortable as they age.
What the ADA Has to Say About Light Switches for Aging in Place
The Americans with Disabilities Act (ADA) has specific guidelines for what it wants to see in a safe light switch for an aging-in-place home. Here’s their list of criteria for what makes a safe switch.
- A light switch needs to be operable with one hand
- It shall not require tight grasping pinching or twisting of the wrist
- The amount of force to operate the switch is limited to 5-lbs of force.
Luckily, just about any residential light switch – whether it’s a dimmer switch or a traditional one – is going to meet these criteria. So, the question then becomes about preference and ease-of-use.
Consider a Smart Dimmer Switch if Your Parent Has Arthritis or Mobility Challenges
Smart technology is one of the best things to happen to the aging-in-place home that I’ve seen since I first began my career as a contractor. Older adults with mobility issues can control their home using just their phone or, even better yet, the sound of their voice.
 When I speak to aging-in-place DIYers, I always recommend they consider a smart dimmer switch, even if they haven’t yet introduced their parent or loved one to the world of smart home technology. Once an elderly adult experiences the freedom that comes with using their voice to turn on a light rather than struggling to find a switch in the dark, I doubt they’ll ever go back to the old way of doing things.
How to Install a Dimmer Switch
First I’ll go over how to install just about any dimmer switch. Then, I’ll run through my list of favorite dimmer switches so you can complete your install.
 When you’re dealing with electrical work, be honest about your level of expertise. A DIY novice should not tackle an electrical job without consulting a professional. The risk of a serious injury is just too high.
Once you’ve done your research, have consulted a professional, and are ready for a simple electrical project, here’s what you need to know to install a dimmer switch in your aging-in-place home.
Tools & Materials You’ll Need
- Multimeter
- Wire Cutters
- Wire Stripper
- Phillip’s Head Screwdriver, long lever for inserting into the wall box
- Electrical Tape
- Wire Connector Caps
Installing a Single-Pole Dimmer Switch
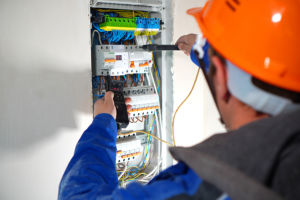
Step 1: Turn Off the Power to the Switch
 Start by shutting off the circuit breaker connected to the switch you’re replacing. Then, test the switch to make sure the light no longer turns on and off.
Step 2: Remove the Switch
Unscrew the base plate screws and remove the plate. Your switch will be attached to a wall box. You can also remove these screws. This will allow the switch to pull away from the wall while still attached to wires.
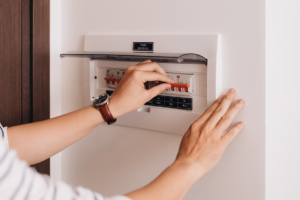
Step 3: Double Check that the Power is Off
 Removing the plate will expose the wires running to the switch. Before you do anything else, confirm that there’s no juice running through any of the wires. When it comes to electricity, you always double-check. If there is any power running through one of the wires, check your circuit breaker or fuse again and turn it off. If that doesn’t do the job, your other option is to turn off all power in the house.
Step 4: Disconnect the Old Switch
Once you’re confident the power is fully off, disconnect each wire and remove the switch from the wall box.
Step 5: Connect Your New Dimmer Switch
Once the old switch is fully removed, you’re ready to install the new dimmer switch. This is a quick and simple step as long as you know which wires are which.
- First, connect the ground wire from your dimmer switch to the ground wire in the wall. The manufacturer instructions should guide you as to which dimmer switch wire is your ground wire. The wall ground wire is usually green or bare copper. Locate both ground wires and twist their ends together. Then, place a wire connector over the twisted ends to cap the wires.
Pro Tip #1: If you remove the switch and your wires are bent or the wire casing is covering the end of the wire, you’ll want to cut the end of the wire and strip off a ½-in or so of the casing. This will help make sure you have a solid connection between the wall wires and the switch wires.
- Second, you need to connect the other dimmer wires to your wall wires. Your dimmer should have two other wires, usually black. The wall unit should have at least two wires, too, usually black. They can also be red or white. Match up each dimmer wire with a wall wire, twist and cap.

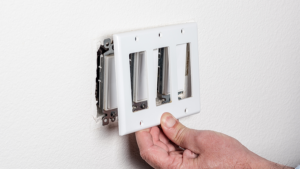
Step 6: Attach the New Dimmer and Replace the Base Plate
All that’s left to do is tuck the wires back into the wall, screw the dimmer onto the wall box, and then screw the base plate back onto the wall.
Installing a 3-Way Dimmer Switch
If you’re installing a 3-way switch, rather than a single-pole switch, you have one more step and one more set of wires to contend with before the job is done.
So, what is a 3-way switch
A light that you can control from two or more locations requires a 3-way switch. To install this type of switch, start by connecting the dimmer switch the same way as in the steps above. When you get to step 5, connect the ground wires the same way I described.
Now you should have three wires left to connect. A 3-way wall unit box is going to have what’s called a common wire. The common wire is usually labeled or tagged in some way so it should be easy to identify. Your dimmer switch should have a black wire. Connect the black dimmer wire to the common wire and cap it off with a wire cap.
Then, take the last two dimmer wires and connect them each to one of the wires in the wire box, using a wire cap for each one.
Next, fold the wires back into the wall and screw in the dimmer switch and base plate.
I know this is a fairly simple install, but any time you’re working with or near electrical wires, please use caution. The whole point of aging-in-place upgrades is to create a safer home, not opportunities for an injury.
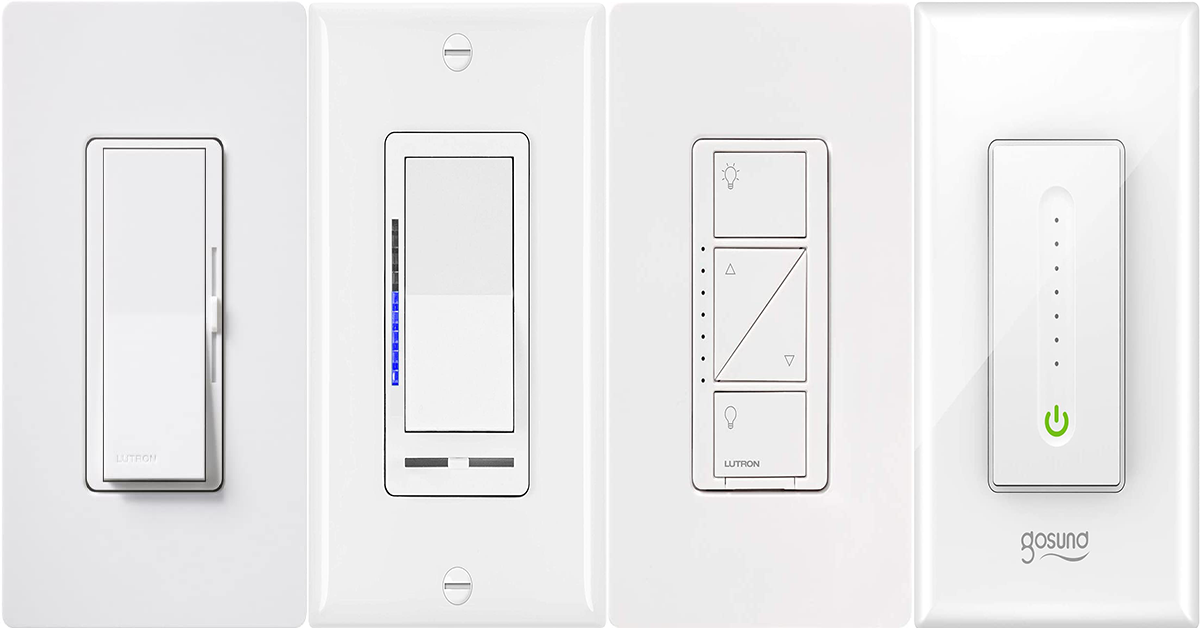
Here’s My List of the 4 Best Aging-in-Place Dimmer Switches
I’ve rounded up my picks for the best, safest and most comfortable dimmer light switches for aging-in-place, and I’ve broken them down into a few categories so you can find the best dimmer switch for your home.
The Best Traditional Single-Pole Dimmer Switch
Bestten Digital Dimmer Switch with LED Indicator

The Best Smart Single-Pole Dimmer Switch

Despite the benefits of smart tech, some older adults are intimidated by this type of technology and have the misconception smart devices can be hard to use. One of the reasons I use this particular dimmer switch from Gosund is because it couldn’t be easier to use. After it’s installed, the switch connects easily to the app or your smart speaker and is pretty much ready to go. The switch also offers a wide dimming range for any amount of light your parent needs. And, you can schedule times for the lights to switch on and off automatically

The Best Traditional 3-Way Dimmer Switch
Lutron Diva C.L. Dimmer Switch

The Best Smart 3-Way Dimmer Switch
Lutron Caseta Smart Home Dimmer Switch

This dimmer switch makes the cut not only because of its quality and reliability but also because of how easy it is to use. Lutron’s Caseta has a ton of features, but its wall-mounted switch interface is simple and straightforward. And, the app is easy to navigate. I especially like one feature in particular – Lutron’s Smart Away safety control. If your parent goes away for a few days, they can push a button on the app and the smart switch will turn the lights on and off randomly and at varying intervals. Outsiders looking in will never guess that your parent is away from home.
You’re Ready to Find and Install the Right Dimmer Switch for Your Aging-in-Place Home
Any of these dimmer switches are going to serve your parent well as they age in place. Once you find the right switch, you should be able to have it installed in just a couple of hours using the steps above. As you work, send any questions my way using the comments section below.
Good luck with your next aging-in-place home project!