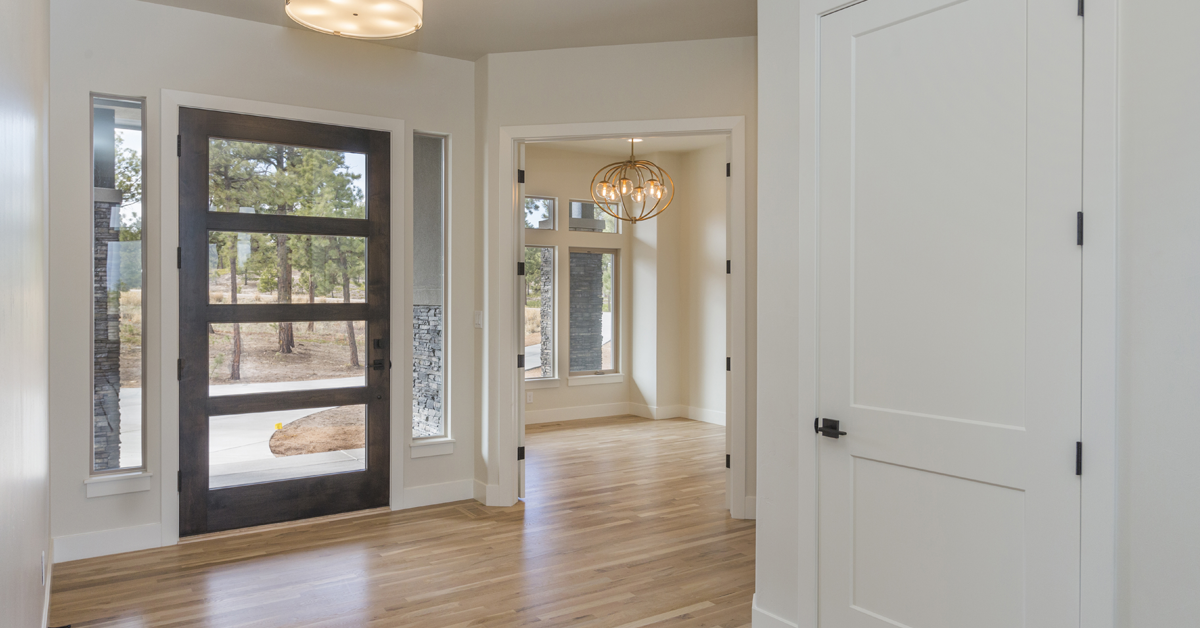
When we talk about aging-in-place renovations, we tend to focus on safety upgrades to bathrooms, kitchens, doorways, and the other main living areas of a home. The foyer is one area that usually gets overlooked. And yet, it can be an equally dangerous place for seniors.
Think about the rain, mud, and snow that you track into your own home throughout the year and how slippery the floor can get. Things get even more hazardous for elderly adults with mobility issues or who are prone to losing their balance.
Luckily, flooring is a relatively easy fix in the home renovation world. Replacing your parent’s or loved one’s current foyer floor with a non-slip alternative can make a huge difference in the safety of the entryway and in their ability to continue to age in place.
For more information on DIY floor installation, check out these guide books!
What to Think About When Installing a Non-slip Foyer Floor
You have a couple of options when you’re looking for a quality non-slip flooring material. First, avoid smooth surfaces like coated tile or sealed wood. Flooring with a thick coating of sealant or other non-porous materials is made to repel water. This is necessary for a lot of applications. But, when these types of floors do their job and keep water on top of the surface, you’re more likely to slip.
The better choice is a textured floor. I’ve found non-slip, textured tile and non-slip vinyl work best. They’re both pretty easy DIY installs and will hold up for years.
Pro Tip #1: Just because a flooring material is textured does not mean it’s non-slip. Steer clear of textured surfaces that are coated with a glaze – they’re still going to present a slipping hazard. Talk to a professional before you make your purchase. A flooring showroom will be able to direct you to the best choices for a safe aging-in-place floor.
Below are some of my tips for installing both a non-slip tile floor and a non-slip vinyl floor in a foyer. Depending on the size of your foyer, a tile or vinyl floor install can be a good DIY weekend project.
Tips for Installing a Non-Slip Tile Floor
Once you’ve worked with a tile showroom and selected the best non-slip tile for your foyer, here’s what else you’ll need before you get started.
Tools You’ll Need:
- Tape Measure
- Level
- Square
- Pencil
- Chalk Line
- Notched Trowel
- Rubber Float
- Tile Spacers (choose a size based on your grout width)
- Electric Drill
- Mixing Paddle
- 5-gallon Bucket
- Wet Saw
- Compact Circular Saw
- Safety Glasses
- Knee Pads
- Respirator
Materials You’ll Need:
- Non-slip, Textured Tile
- Thin-set Mortar
- Cement Backer Board
- Cement Board Screws
- Grout
- Sealer
Step 1: Prep the Floor
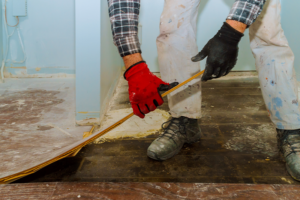
Remove the existing floor. This can be a day’s job in itself, so make sure you give yourself time to do it right. Remove the existing floor, scrape up any adhesive or grout left behind, and give the subfloor a good clean.
If your subfloor is wood or plywood, you’ll need to cover it with cement backer board before you tile. This is a pretty easy install. Just lay the backer board over your subfloor and attach it with cement board screws. Countersink each screw so you maintain a flat surface for your tile.
Pro Tip #2: If you’re installing a floor that’s taller than the previous one – going from a thin vinyl to a thick tile, for instance – you’ll need to trim the bottom of any door jams that overlap the foyer floor, such as the front entrance. This is a job for your compact circular saw.
Step 2: Plan Your Tile Layout
Determine how you want your tile laid before you start tiling. Consider how you want the floor to look when it’s finished and create a pattern that minimizes the number of tiles you’ll need to cut to make everything fit.
Pro Tip #3: Check to see if your foyer space is square! If your home is older, chances are one side of the foyer is slightly longer or angled differently than the other. You may also have unlevel floors to deal with. At this stage of the project, map out where each tile will go with a chalk line tool. Also, plan for where you’ll need extra mortar to raise the tiles so the final floor is level.
Step 3: Lay the Tile

Mix your mortar. The most important thing at this phase is to get the consistency of the mortar right, so follow the instructions carefully.
Next, have your mortar, tiles, and tile spacers within reach before you lay the first tile. When you’re ready, spread the mortar along your chalked guidelines and lay the first tile in place. Then, lay the second tile in place along with your tile spacers to keep the tiles uniform and in the right position.
Pro Tip #4: Check your tile level as you go! I can’t stress this enough. Your thin-set mortar will take about 15-20 minutes to set, which means you have a short window to adjust the height or position of your tiles. If you wait, you’ll either be stuck with the tiles as is or create a whole lot more work for yourself and have to rip out the tiles you just set.
Step 4: Cut Tiles as Needed to Fit the Space

Your full-size tiles should cover most of the foyer floor. But, as you get up along the walls, you’re most likely going to have to cut tiles to fit those last spaces. Cutting tile sounds harder than it is. With the right wet saw and accurate measurements, you can easily cut each tile to fit.
Measure the tile to size and use your wet saw to make either straight or curved cuts. You’ll follow the same steps above for mortaring and laying each tile.
Pro Tip #5: When you’re measuring your floor to determine the size of the tile you need to cut, don’t forget to account for the size of the grout line. You’ll need to subtract the width of the grout line from the total space on the floor you need the tile to cover.
Step 5: Apply the Grout & Seal
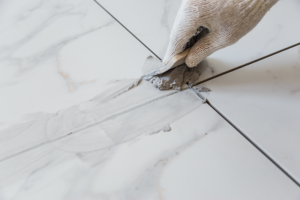
Once the tile mortar is set, it’s time to grout. The key to grout is finding the right consistency. Follow the mixing instructions carefully; attention to detail here will make life much easier, trust me. You can also find pre-mixed grouts which work well.
Apply the grout by dragging a rubber float across each tile at a 45-degree angle. Then, give the grout a minute or two to set and wipe each tile with a wet sponge to get rid of the excess.
Once the grout is completely set, run a sealant over the top of each grout line and let it dry.
Tips for Installing a Non-Slip Tile Floor
If you’ve decided to go with a non-slip vinyl over tile, below are tips for how to install a floating tongue and groove vinyl plank foyer floor that’s safe for the aging in place home.
Why Tongue and Groove Over Peel and Stick or Sheet Vinyl?
Preference. I personally like the way tongue and groove vinyl looks compared to the alternatives. If you prefer a peel and stick or sheet vinyl though, slip-resistant options of either will work well for this aging in place renovation.
If you choose a peel and stick vinyl, you can follow the same floor prep steps I’ve outlined below. Then you’ll simply peel each section and stick it in place. Sheet vinyl is a different installation altogether. Leave a message in the comments section below if you’re looking for information on a sheet vinyl install and I’ll be glad to help.
Once you’ve worked with a flooring showroom to select the best non-slip tongue and groove vinyl for your foyer, here’s what else you’ll need before getting started.
Tools You’ll Need:
Materials You’ll Need:
- Non-slip Vinyl Planks
- Self-Leveling Mix
Step 1: Prep the Foyer Floor
Start by removing the baseboards. Plank vinyl can be installed over one existing layer of vinyl. If you remove the baseboards and can see multiple layers of vinyl underneath, it’s a good idea to remove the excess layers before you go any further.
Once the final subfloor is exposed, give it a good clean and check to see if it’s level. Floors in older homes tend to be unlevel. To get a wood or concrete floor back to level, sand the high spots.
If you have an unlevel vinyl floor, don’t sand it or may expose yourself to asbestos. You’ll need to purchase a self-leveling mix and spread it across the floor to create a flat, level surface before you take any next steps.
Step 2: Plan Out Your Plank Placement

First, you need to find the center of the foyer. Do this by marking the center of each wall and snapping chalk lines going across the foyer from one center of a wall to another. If you have a square room with four walls, you’ll snap two lines – each going from one side of the room to the other – and create a cross with a center point where the two lines intersect. This is the center of your foyer.
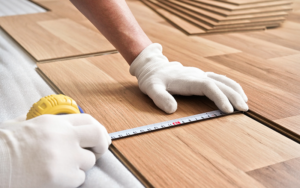
From that center point, measure the distance to one wall where you’ll start tiling. Subtract a 5/16-inch expansion gap to account for natural expansion and contraction of the vinyl. Mark this distance at each end of your starting wall and snap a chalk line from one end to the other.
Finally, determine the width of your last row of planks. Like with tile, you’re most likely going to need to trim the last row of vinyl planks to make them fit the foyer’s dimensions.
Pro Tip #6: If your last row of planks is going to be thinner than half the width of one plank, you may want to trim half the width of your first row of planks as well. This will give the room more balance with the end rows being thinner than the middle rows.
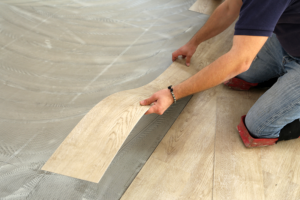
Step 3: Lay Your First Row of Planks
The first row of your floating planks needs to lay flush against the chalk line you created marking the 5/16-inch expansion gap. Start by cutting the tongue off of the first row of planks. Then, place the first plank down along the chalk line with the groove facing in.
Hold the top of the second plank against the end of the first plank, pushing down until the two planks click into place. Continue this down the entire first row. You’ll need to cut the last piece of plank to make it fit.
Step 4: Connect Your Second Row of Planks

The second row and beyond are just a series of matching up the tongue and groove of each row and snapping each set of planks together.
Pro Tip #7: From row to row, you’ll need to stagger each joint about 6-inches. So, the first piece you place in each row needs to be cut to a length that will cause the new row’s joints to be staggered against the previous row.
Step 5: Replace the Baseboards and Add a Transition Piece
Once the floor is complete, replace the baseboards. Next, you’ll need to create a transition piece where the foyer connects to other floors or entryways in the home.
For the aging in place home, the National Association of Home Builders (NAHB) recommends flush thresholds wherever possible. A flush or no-threshold transition is the absolute best way to make your new non-slip foyer as safe as possible for an older adult.
If you just can’t get around it and determine some height is necessary, the NAHB wants to see nothing more than a ¼-inch high threshold inside the home. A ½-inch beveled threshold is the max for an exterior entry threshold.
You can read through my article on “Tips for Making Your Doorway Thresholds Safe for Aging in Place” to learn more about eliminating the threshold.
Now You’re Ready to Get to Work
Renovating a foyer floor and upgrading to a non-slip surface is a relatively easy weekend DIY project that’s going to make an immediate difference in the safety of an aging-in-place home for an older adult. These tips should get you well on your way to a successful install. And, as always, use the comments section below to send any questions my way. Good luck with your next aging-in-place renovation.